Sterile processing departments, endoscopy/GI labs, and surgical departments rely on specialty sinks for medical instrument reprocessing after instrument use. They are a critical element for the removal of all bioburden hazards to ensure a device’s safe return to use for the next patient. They must also provide efficient workflow and support technicians with ergonomic considerations to prevent injury.
Choosing a sink for the department when you’re ready to upgrade or renovate may seem a simple task at first. But there are many factors to the right sink. Use the following guidelines to inform your decision when identifying a sink to serve your department needs for the long term.
1. Facility requirements
A large reprocessing sink can demand more than just a large chunk of floorspace. It has plumbing and drain requirements as well as potential electrical connections. It’s important to anticipate facility systems operations and future, scalable growth considerations. Keep these facility needs in mind as you consider sink options for your department:
- Space availability and potential for renovation
- Plumbing and drain location considerations
- Electrical connections: Current and future needs
Ideally your sink supplier will work with you from beginning to end to facilitate a smooth transition. They should provide planning documents that will help your department prepare for the new equipment and its requirements. That would also include how it will be delivered and what you will need to transport it from the loading dock and through the facility to your department. Planning ahead helps to avoid the unpleasant surprise of your new reprocessing sink being too large to fit in the elevator!
2. Workflow efficiency
Efficiency is something every department strives for. It’s a powerful tool to mitigate potential backlogs and impacts everything from  employee satisfaction to maintained standard compliance. It is critical to consider when adding new equipment. You’ll want to look at your caseload, your specialties, and how many technicians you have.
Before you begin looking for sinks, consider the following to add to your decision process and future planning:
- Are you going to use the same workflow? Or will it change?
- Are you upgrading water quality?
- Will you be adding new surgical specialties?
- What tools do you currently use?
- What tools will you add to improve efficiencies or accommodate new instrument IFU?
- What is your average caseload? Will that change?
- How do instruments get to the department?
- What steps do technicians take first?
- Where do my biggest backlogs take place?
All of these should be included in your planning and decision process and be part of your purchase process as well. The ideal sink provider will help you work through all of these to ensure you have the right sink for your departmental needs.
3. Reprocessing sink customization
Every department has different space, specialty, and workflow requirements. It can be difficult to use a one-size-fits-all sink that only offers a specific number of bays, lengths, or basin sizes. Be aware of all the options when planning to add new sink equipment, such as custom modifications.
Choosing a standard size sink may be tempting because it seems easier and possibly cheaper. But the wrong sink can disrupt an entire department if it cannot meet its needs, and ultimately leads to expenses down the road with backlogs and inefficiencies. Choose a sink provider who can work with your specific departmental needs, whether you need a standard sink or customization to improve its effectiveness, while also following recommended guidelines.
Pure Processing’s PureSteel Healthcare Reprocessing Sinks are available in multiple standard sizes, and also in customizable by size, basin or features, to fit specific needs for each unique department.
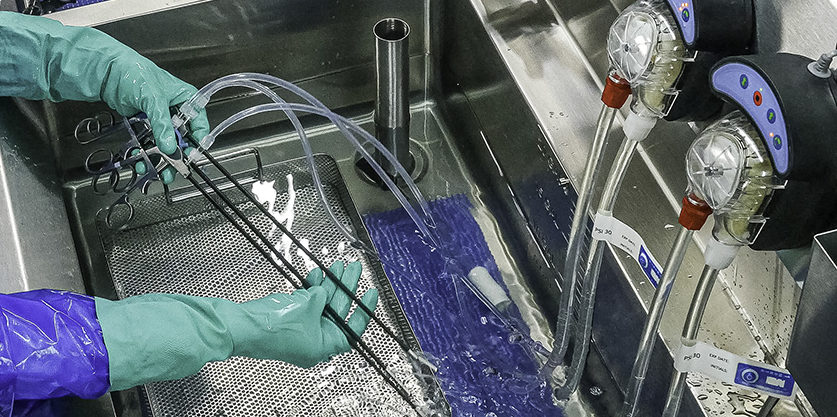
4. Sink accessories
Most reprocessing sinks come with accessories designed to make work easier. Certain accessories can make sinks more effective and efficient for your technicians. Those would include:
- A back wall that adjusts with sink height, but that can also organize accessories at the optimal worker height
- New reprocessing tools to help meet changing IFU requirements
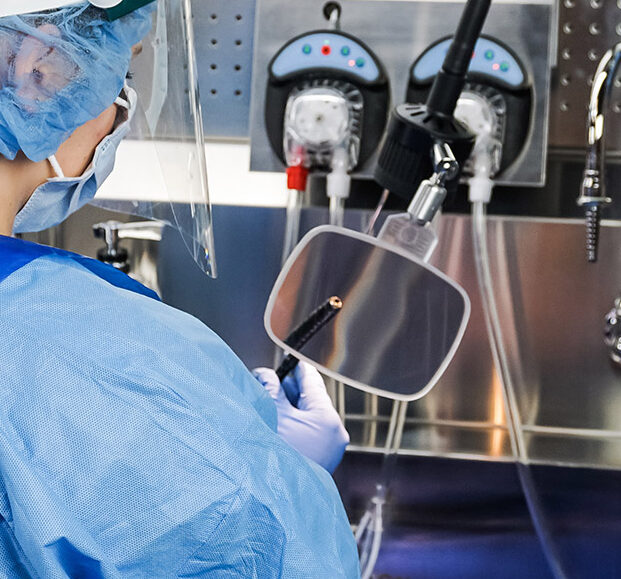
- Lights for inspection
- Features which add ergonomic benefit to staff, on top of height-adjustment
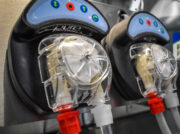
 Automated flushing systems can help meet complex IFU requirements Automated flushing systems can help meet complex IFU requirements |
Tasks lights come in many varieties, not all suitable for reprocessing sinks. |
Ensuring workflow compliance is critical for new staff, or new department layouts |
Many accessories are a nice to have, but they can also become a burden if they are not properly chosen. Pieces and parts can go down, which can impact the usability of the sink itself. Mechanical accessories are especially at risk for this. “Bells and whistles” can be tempting, and ultimately effective for your department’s needs. But consider all implications when adding certain accessories. If they cannot bring real, day-to-day efficiencies and value for staff or compliance, they may be nice, but impractical.
Instructions for use (IFUs) should also be part of your accessories decision. They may seem like a great addition, but you’ll want to evaluate their effectiveness to meet IFUs. Added spray guns can make a sink look good, but they may fall short of meeting critical flushing requirements.
5. Sink ergonomics
Technicians spend many hours at sinks performing repetitive tasks that can have a painful impact on hands and wrists, not to mention pain from bending over for periods of time. Choose a sink with ergonomic considerations to minimize such risk for injury:
- Electronic push button height adjustment
- Ergonomic wrist rests
- Back wall panel auto adjust with sink height
- Height adjustable storage shelves
Some sinks will include features beyond height-adjustment to improve worker ergonomics |
Evaluate the mechanisms your sink uses to adjust its height |
The right sink can keep your technicians comfortable, satisfied with their working environment, and pain-free while performing their work.
Each department wants to achieve reprocessing effectiveness, efficient workflows, and quality outcomes. And every piece of equipment your department uses contributes to success in all those areas. A reprocessing sink is no different.
A sink is more than a sink. It’s a vital piece of equipment that can have a huge impact to your department, your technicians, and your work. You can identify the best sink for your unique department by planning ahead, considering facility requirements, workflows, customization, accessories, and ergonomic impacts to your team. The right vendor can work with you through the entire process to identify what you need and how to achieve it.
Pure Processing’s PureSteel Healthcare Reprocessing Sinks are the industry gold standard for flexibility, function, and quality in both sterile processing and endoscopy departments.
Contact our sales team for a free consultation and quote and see why so many customers switch to a new vendor option.
 other healthcare-associated infection (HAI). While you were right to thank your surgeon for doing an excellent job, you also should have thanked the Sterile Processing Department (SPD) for properly cleaning, disinfecting, inspecting, and sterilizing the instruments before they were used during your procedure. The risk of an SSI would have increased if the sterile processing department had not properly cleaned the instruments used.
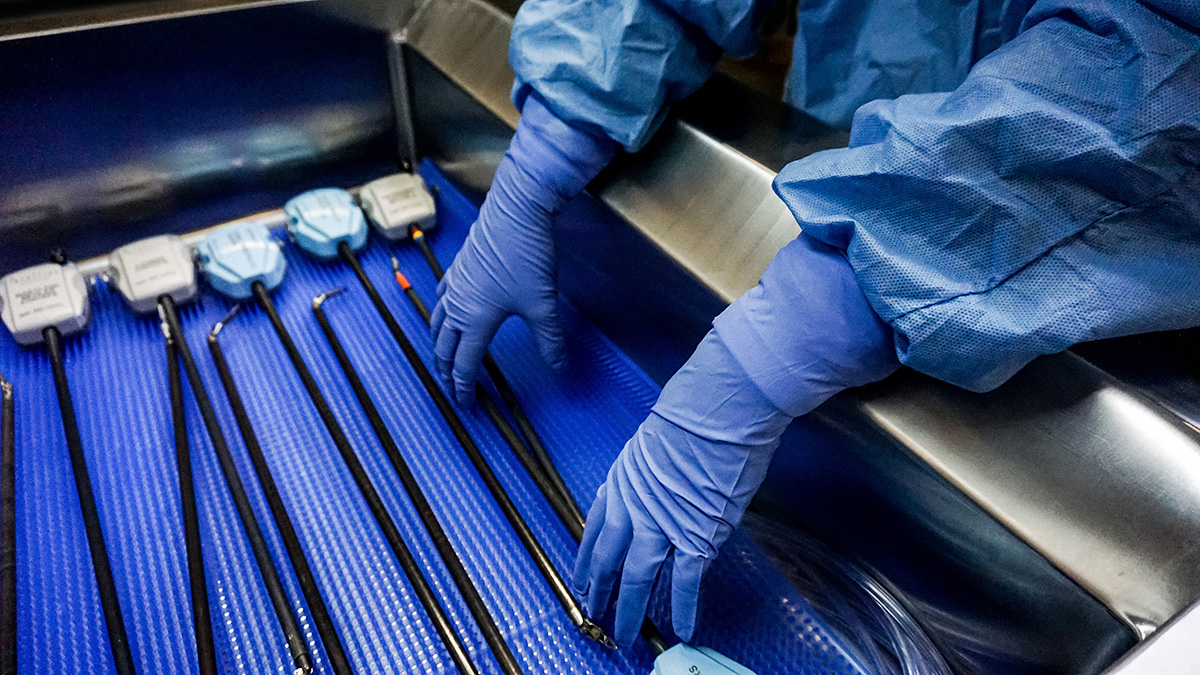
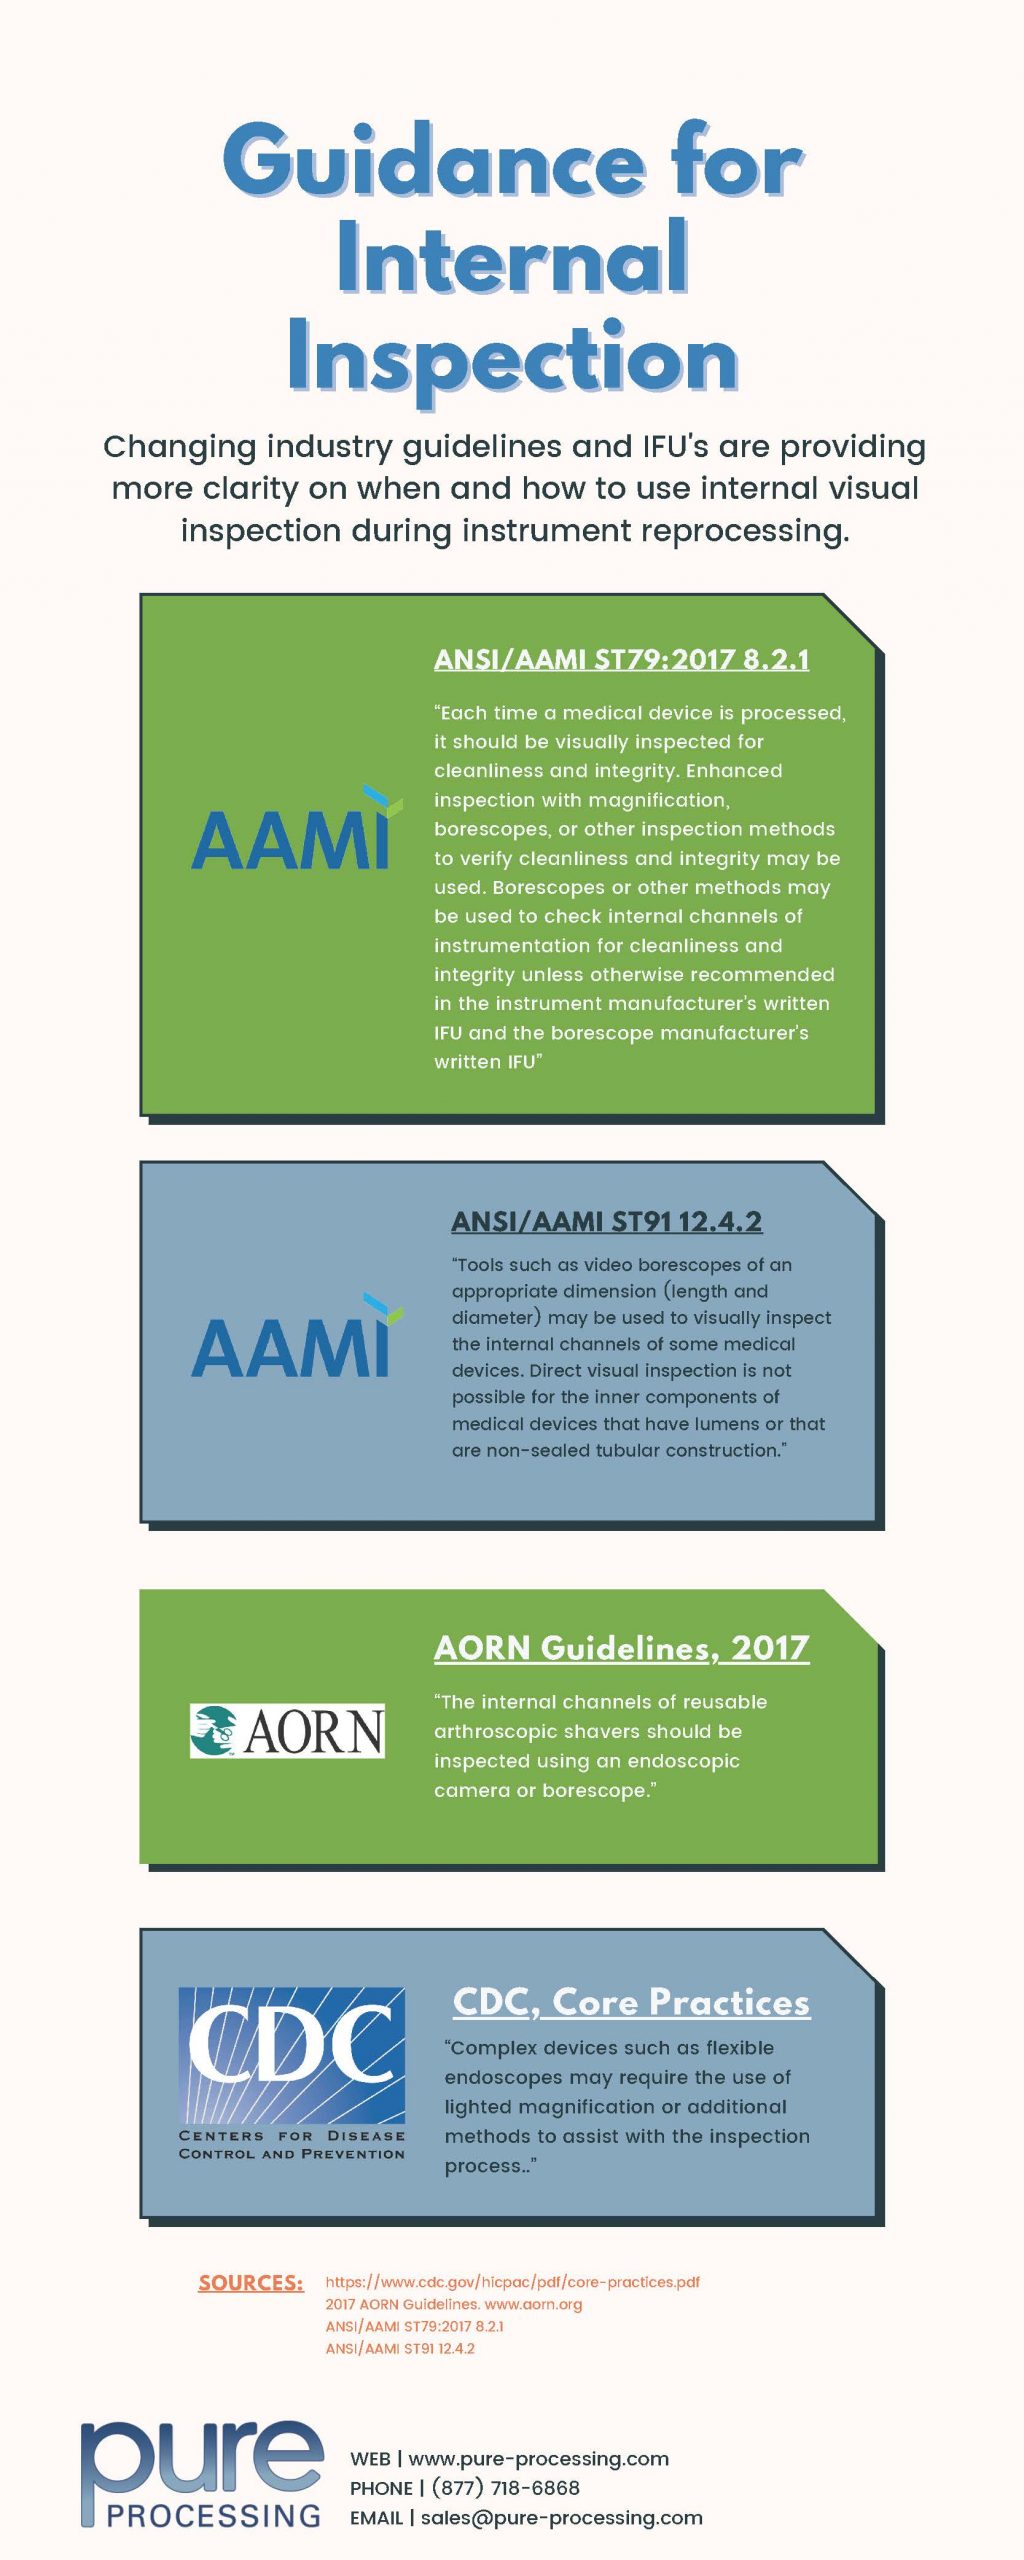 instrumentation fully to deliver high quality cleaning outcomes. External inspection is good for 50% of the device, but what about the other half of your instruments? The internal channels and components of devices are as important and yet more dangerous to leave unchecked.
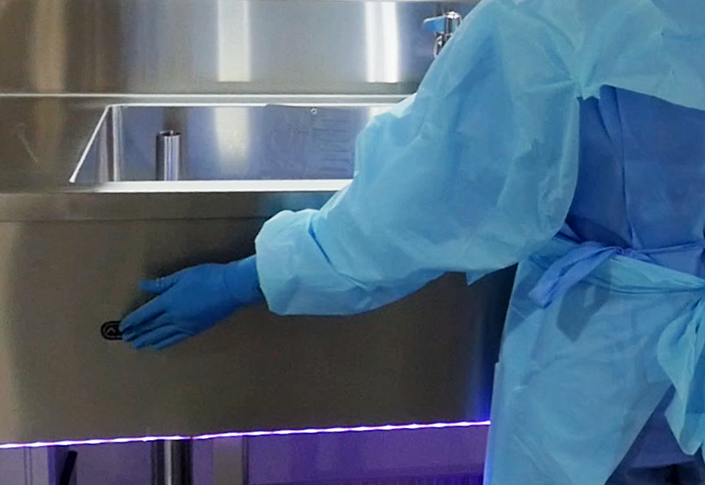
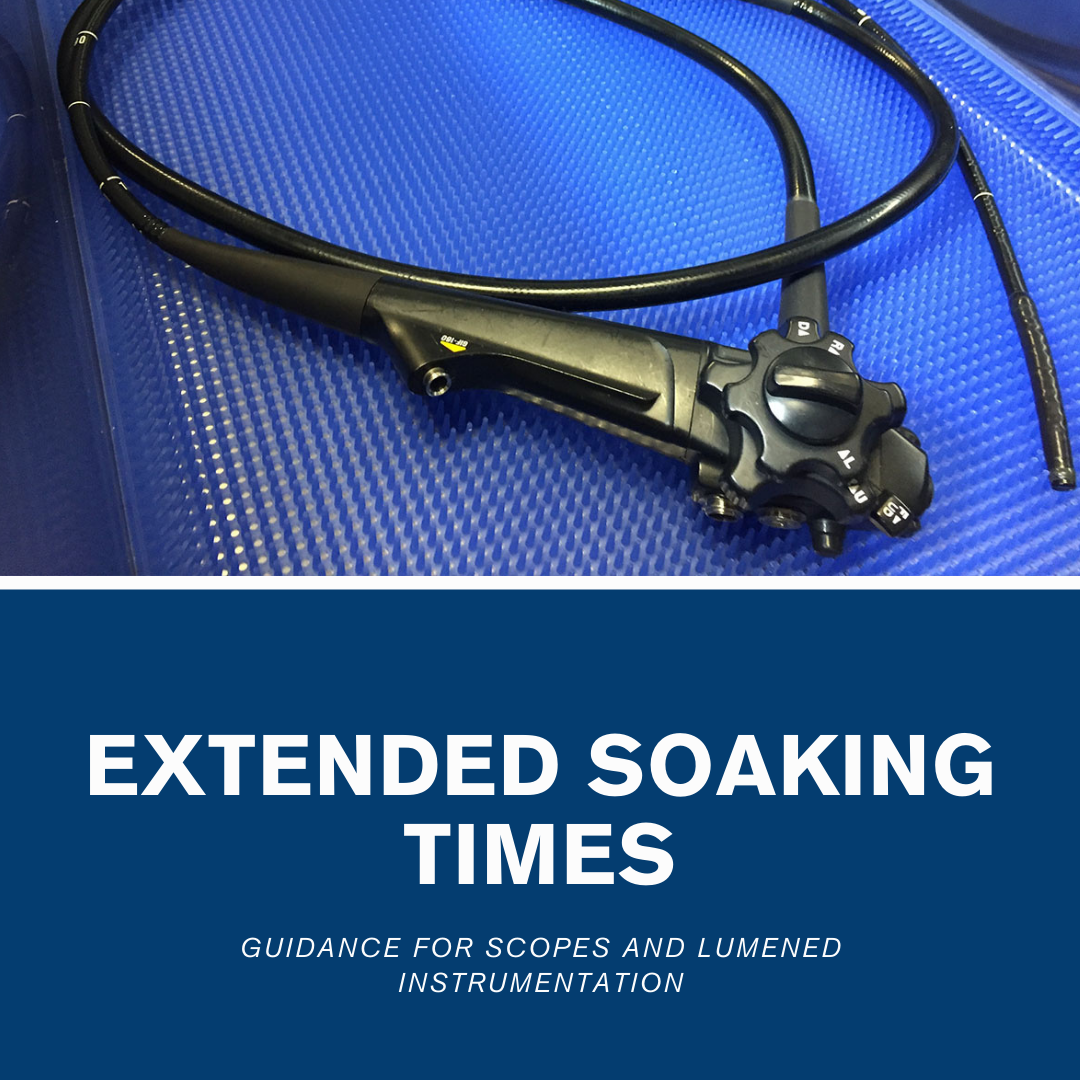 It’s impossible to ignore. Instrument reprocessing time has increased. A major factor? Extended instrument soaking.